How to Maximize Space in Your Kitchen with an IKEA Hanging Dish Rack
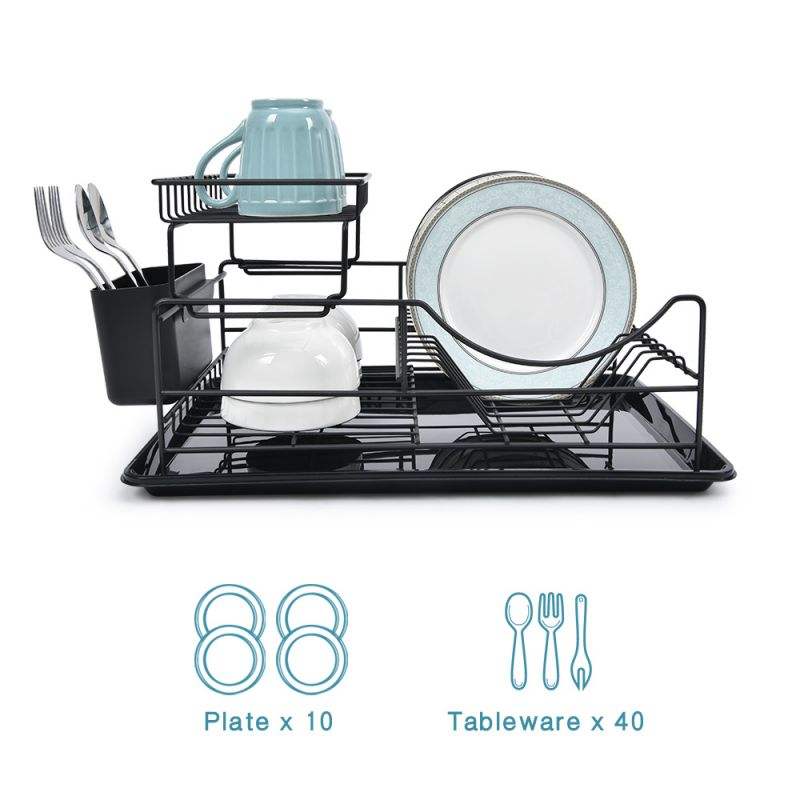
Maximizing space in your kitchen can be a challenge, especially if you have limited countertop and cabinet space. An IKEA hanging dish rack is a great way to make the most of the space you have. This type of rack is designed to hang from the ceiling, freeing up valuable countertop and cabinet space.| Product | Stainless Steel Dish Rack | Item No.IKEM11319 | finish | Electrochemistry |
| CLOLUR | Silver/Customize | Material Stainless Steel+ PP | Size | 47*30.5*15 CM(18.5*12*5.9 inch) |
| divelttime | 25days | Use Dish and Bowl | product time | 2023.04.20 |
| Functional design: | Multifunction | Product name: | o | Stainless steel Dish Rack 2 |
| d | Dish Rack Stainless Steel | d | Material: | stainless steel |
| Package: | poly bag+color box+outer carton | style | Modern | Size:50*33*14.5CM |
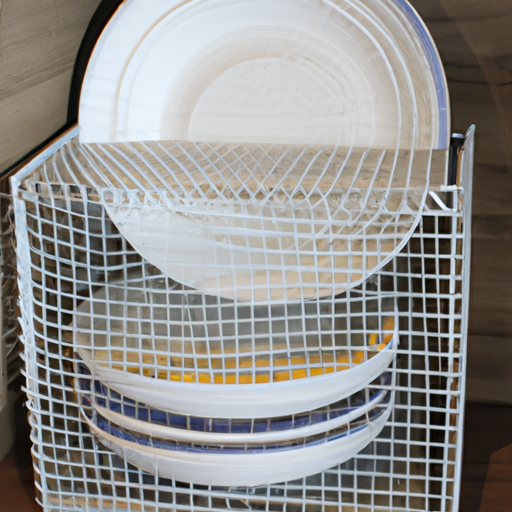
 Now you are ready to hang the rack. Place the rack on the screws and make sure it is level. Secure the rack with the included hardware.
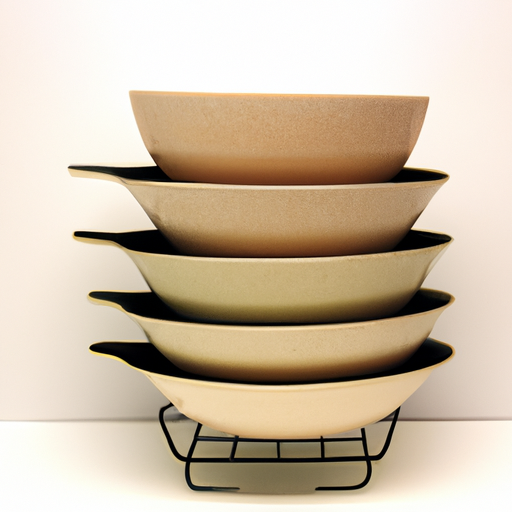
Once the rack is installed, you can start organizing your dishes. Place the dishes on the rack in an organized manner, making sure to leave enough space between them for air circulation. This will help keep your dishes dry and free from mold and mildew.
Now you are ready to hang the rack. Place the rack on the screws and make sure it is level. Secure the rack with the included hardware.
Once the rack is installed, you can start organizing your dishes. Place the dishes on the rack in an organized manner, making sure to leave enough space between them for air circulation. This will help keep your dishes dry and free from mold and mildew.