How to Build a DIY Bowling Ball Rack: A Step-by-Step Guide
Step 1: Gather Materials
Gather the necessary materials for the bowling ball rack. You will need: two 2x4s, four 3-inch screws, four 2-inch screws, a drill, a saw, and a measuring tape.
Step 2: Cut the 2x4s
Using the saw, cut the two 2x4s into four equal pieces. Each piece should measure 24 inches in length.
Step 3: Assemble the Frame
Lay the four pieces of 2x4s on a flat surface. Secure the pieces together by drilling the four 3-inch screws into the corners.
Step 4: Attach the Shelves
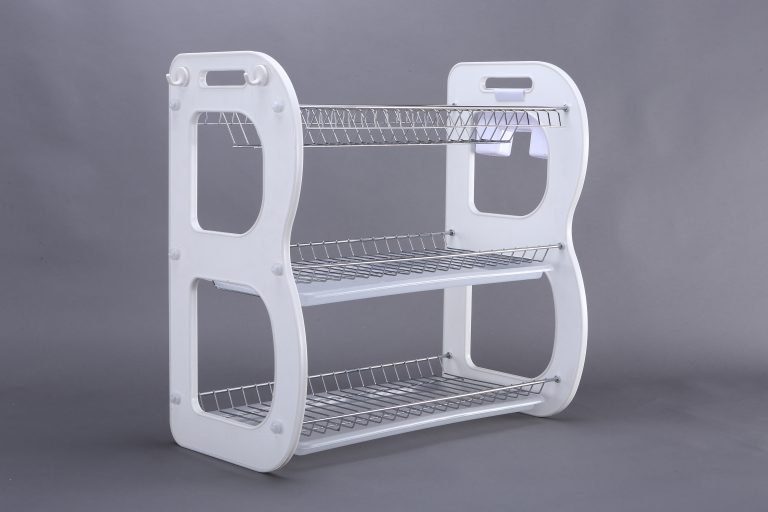
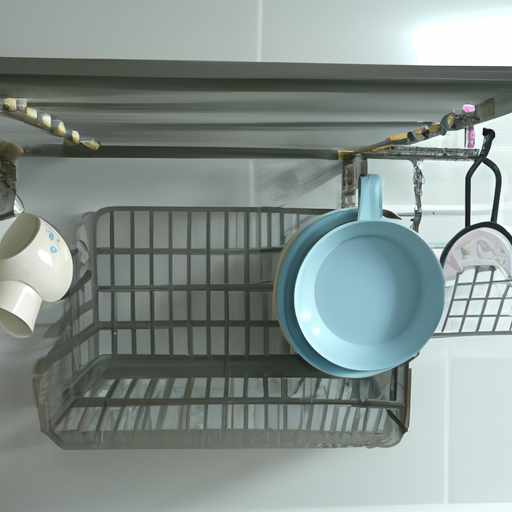
Place of Origin
Zhejiang, China
Applicable Space
Kitchen
Type
Storage Holders & Racks
No. of Tiers
Single
Use
Tableware
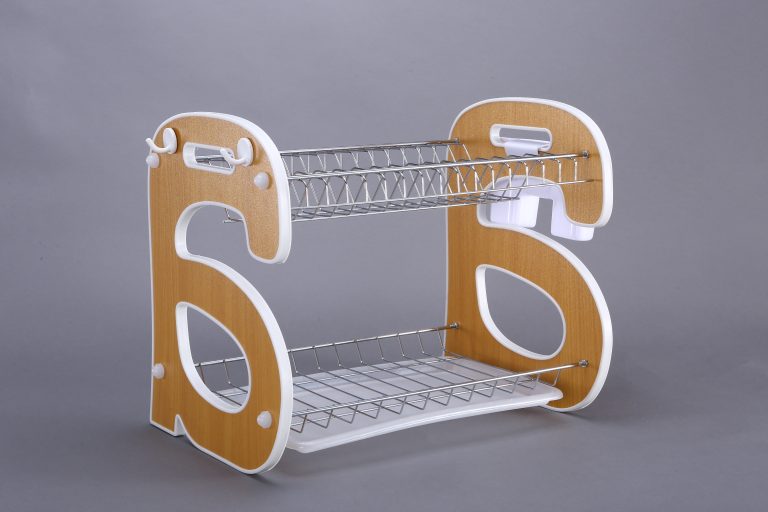
Material
iron/pp/beech
Installation Type
Standing Type
Feature
Sustainable, Stocked
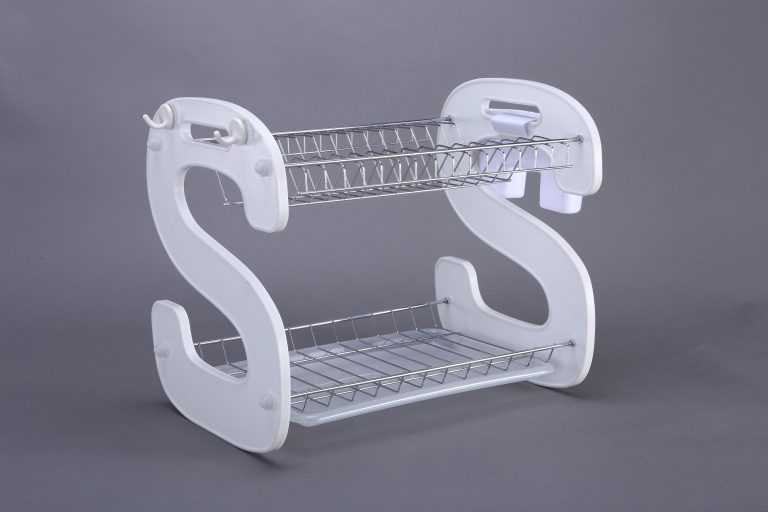
Classification
Folding Rack
Product name
dish rack
Function
Save Storage Space
Size
44*18*32cm
Type
Kitchen Drying Rack
Packing
4pcs
MOQ
100
Advantage
Space-saving Kitchen
OEM & ODM
Welocme
Measure and mark the desired height of the shelves on the frame. Drill four 2-inch screws into each corner of the frame to attach the shelves.
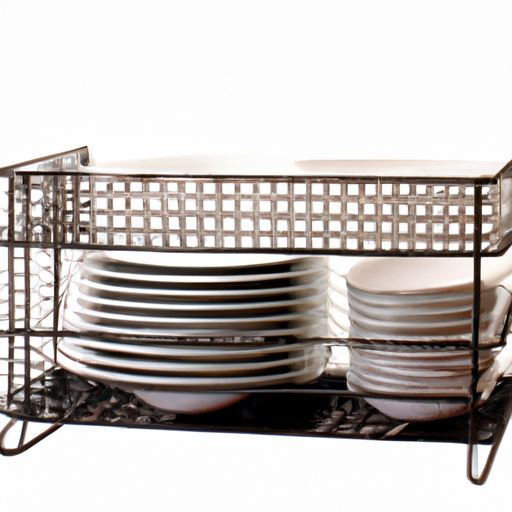
Step 5: Add the Bowling Balls
Place the bowling balls onto the shelves. Make sure the balls are evenly spaced and secure.
Step 6: Enjoy!
Your DIY bowling ball rack is now complete. Enjoy your new storage solution!
How to Find the Best KitchenAid Dish Rack at Costco: A Guide to Shopping for Quality and Value Shopping for a KitchenAid dish rack at Costco can be a daunting task. With so many options available, it can be hard to know which one is the best choice for your needs. Fortunately, there are a…
The Benefits of an Over the Sink Dish Rack from Amazon An over the sink dish rack from Amazon is a great way to make the most of your kitchen space. This convenient and stylish dish rack is designed to fit over your sink, allowing you to save counter space and keep your dishes organized….
How to Choose the Right Kitchen Shelf Stand for Your Home When it comes to choosing the right kitchen shelf stand for your home, there are a few factors to consider. First, you should think about the size of the shelf stand. If you have a small kitchen, you may want to opt for a…
How to Choose the Right Drying Rack for Your Dishes When it comes to choosing the right drying rack for your dishes, there are a few things to consider. First, you need to think about the size of the rack and how much space you have available. If you have a small kitchen, you may…
How to Create a Unique Ginnela Stand for Your Home or Business Creating a unique ginnela stand for your home or business can be a fun and creative way to add a unique touch to your space. Here are some tips to help you get started: Place of Origin Zhejiang, China Applicable Space Kitchen Type…
How to Choose the Right Iron Dish Rack for Your Kitchen When selecting an iron dish rack for your kitchen, there are several factors to consider. First, consider the size of the rack. Make sure it is large enough to accommodate all of your dishes and other kitchen items. Additionally, consider the design of the…
 Step 3: Assemble the Frame
Lay the four pieces of 2x4s on a flat surface. Secure the pieces together by drilling the four 3-inch screws into the corners.
Step 4: Attach the Shelves
Step 3: Assemble the Frame
Lay the four pieces of 2x4s on a flat surface. Secure the pieces together by drilling the four 3-inch screws into the corners.
Step 4: Attach the Shelves