How to Install a Dish Drainer Attached to Your Sink: A Step-by-Step Guide
Installing a dish drainer attached to your sink is a great way to save counter space and keep your kitchen organized. With a few simple steps, you can have your dish drainer up and running in no time. Step 1: Measure the sink. Before you purchase a dish drainer, you’ll need to measure the sink to make sure it will fit. Measure the length and width of the sink and make sure the dish drainer you choose is the right size.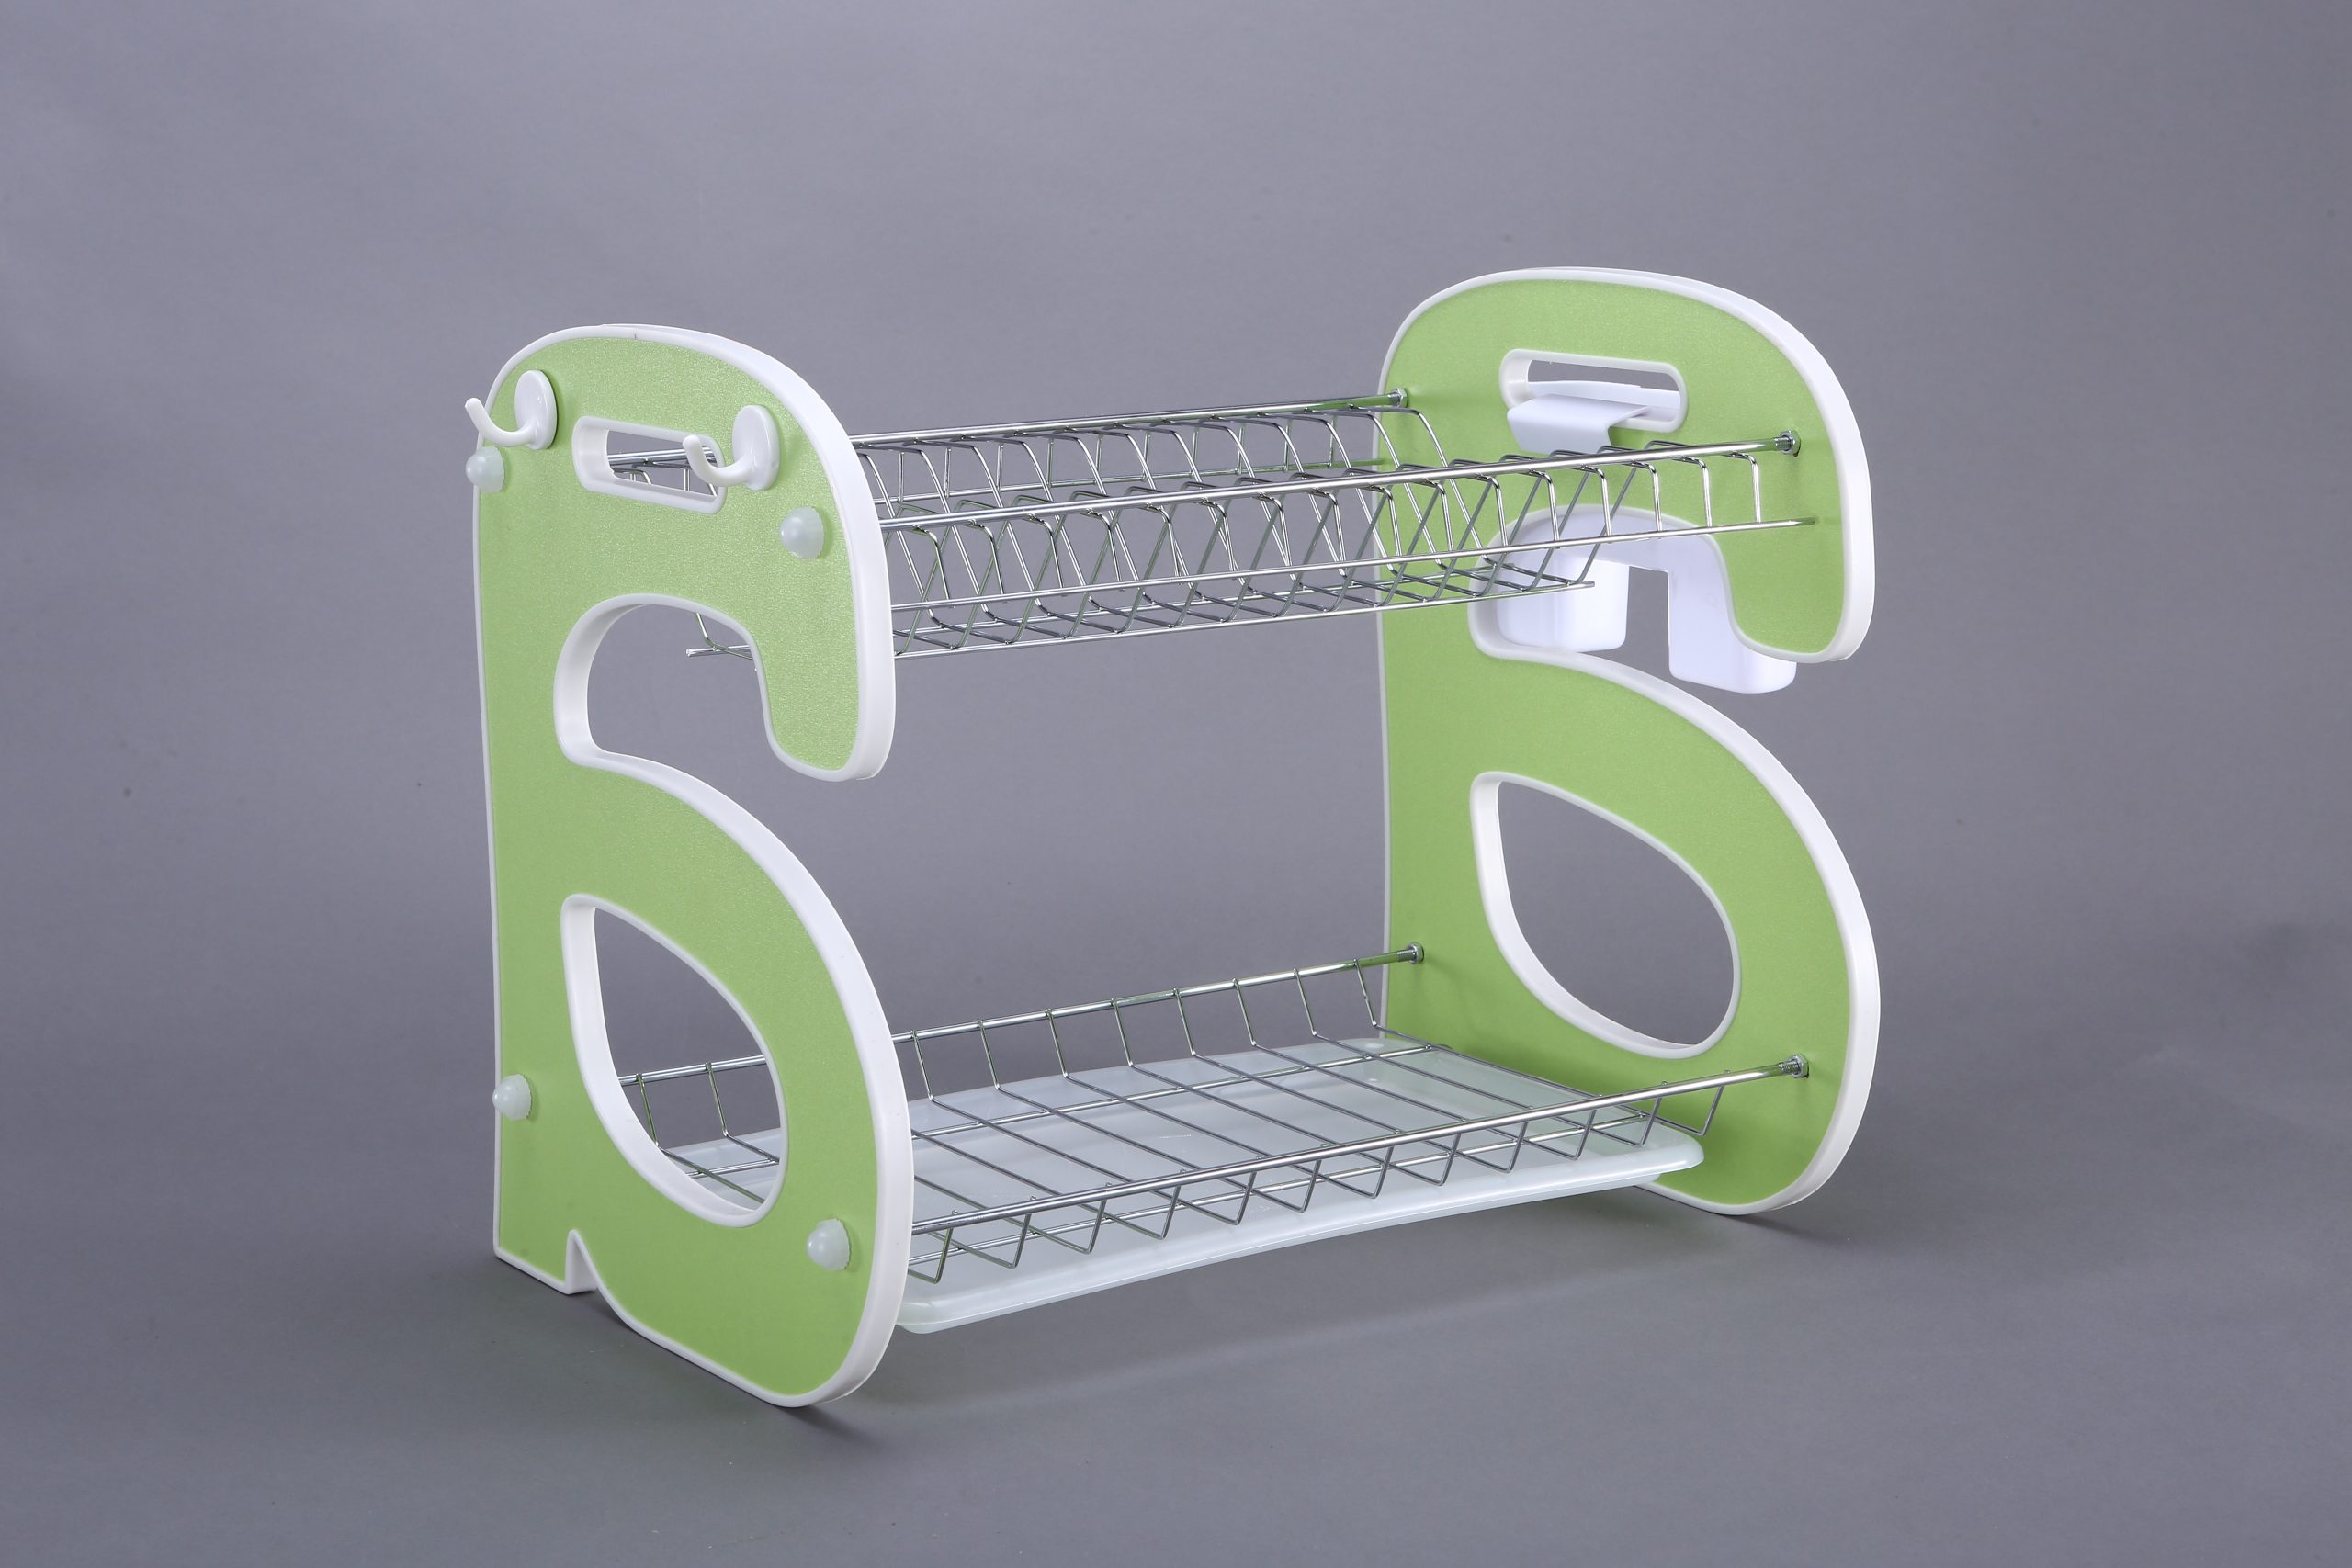 Step 3: Attach the dish drainer to the sink. Most dish drainers come with instructions on how to attach them to the sink. If not, you can use a drill and screws to secure the dish drainer to the sink.
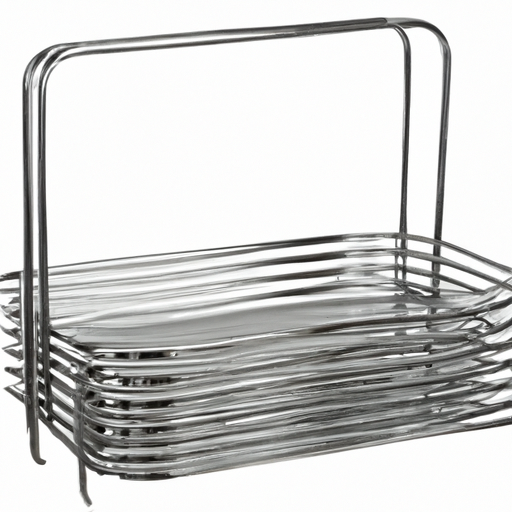
| Product | Stainless Steel Dish Rack | Item No.IKEM11319 | finish | Electrochemistry |
| CLOLUR | Silver/Customize | Material Stainless Steel+ PP | Size | 47*30.5*15 CM(18.5*12*5.9 inch) |
| divelttime | 25days | Use Dish and Bowl | product time | 2023.04.20 |
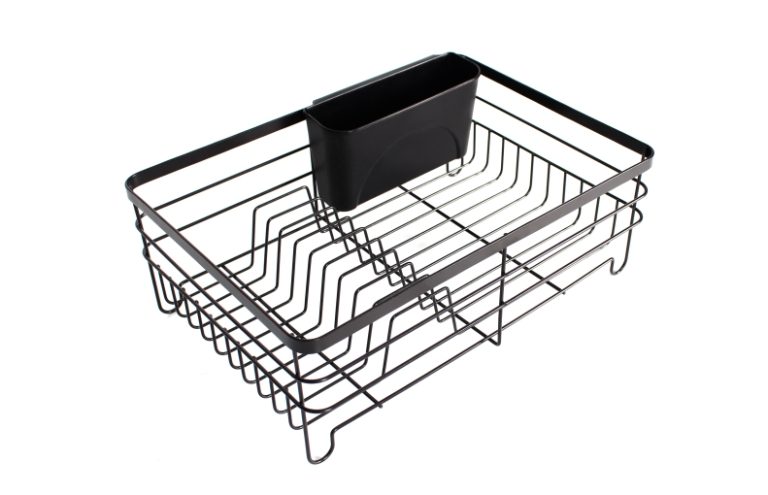
| Functional design: | Multifunction | Product name: | o | Stainless steel Dish Rack 2 |
| d | Dish Rack Stainless Steel | d | Material: | stainless steel |
| Package: | poly bag+color box+outer carton | style | Modern | Size:50*33*14.5CM |